Overview
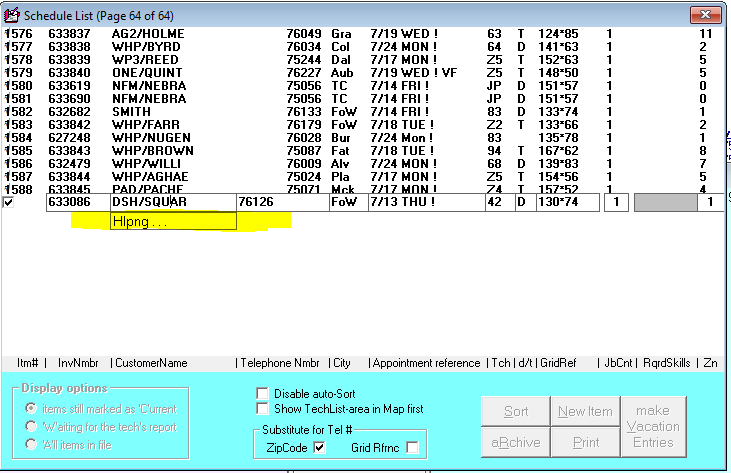
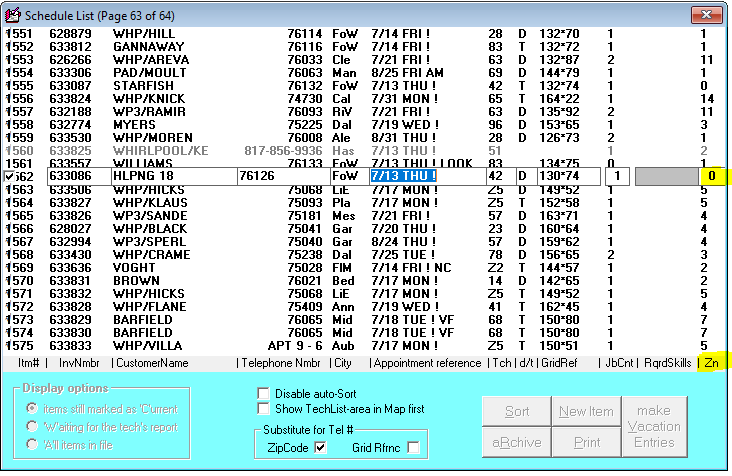
Schedule the Primary technician as normal (date / time / call counts). For the Helping technician, go to Scheduling (F6 Schedule List) and select Make Another / New? appointment. Where the customer's name is, type HLPNG xx (xx = tech initials or tech code), match the same date/time and call count as the Primary, change the default tech to the helping tech's initials/code, and adjust the zone to the helping tech's zone.
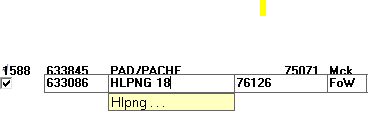
THE IMPORTANT THING HERE IS TO NOT SELECT THE DROP-DOWN "Hlpng...". That will stop the helping technician from reporting on the call, and can cause an issue with the pick list when printed. Type HLPNG xx manually in ALL CAPS.
After assigning both technicians, verify in the history that it was done (many times the helping tech is the same as the primary due to overlooking the tech code/initials change), then add an Attention Note of who is helping who, so the primary tech knows who will be there to assist.
Step-by-Step Walkthrough
(Original had click-by-click screenshots; re-attach during KB review.)
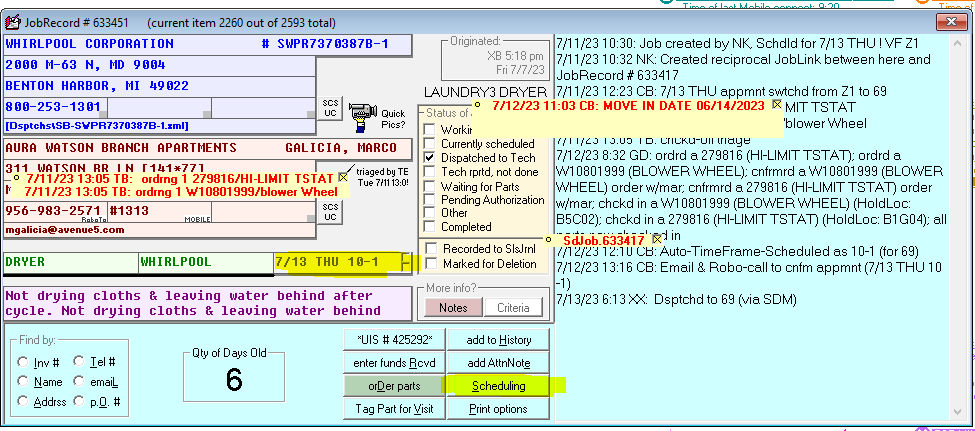
- Click either highlighted area (job record shortcut or Scheduling button).
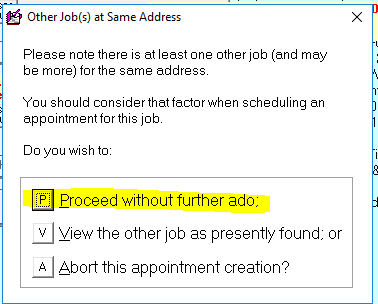
- Click Proceed without further ado.
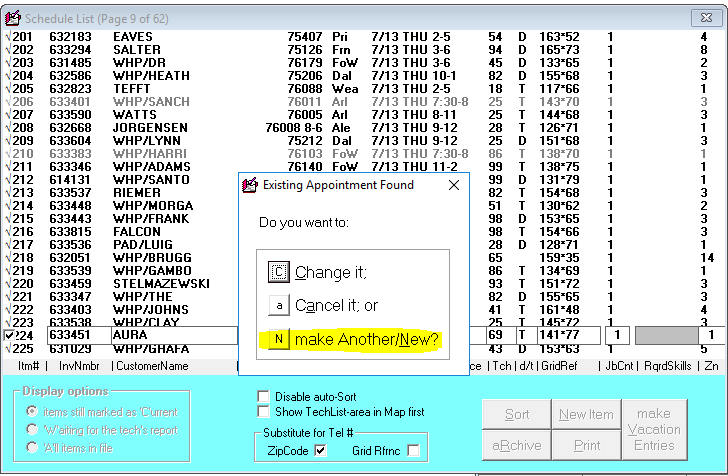
- Click Make Another / New?
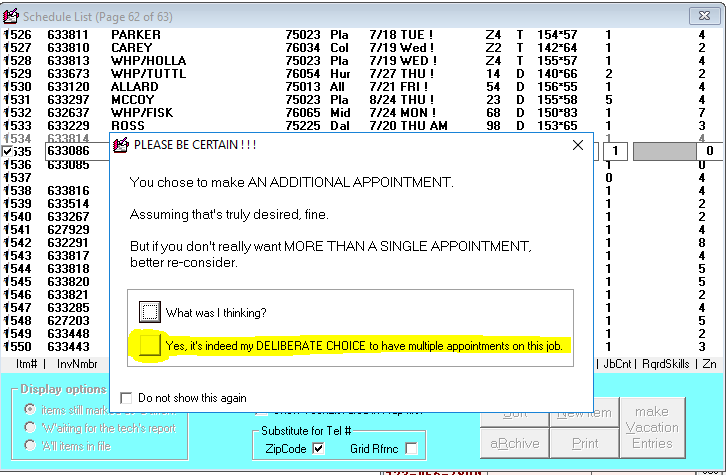
- Click "Yes, it's indeed my DELIBERATE CHOICE to have multiple appointments on this job."
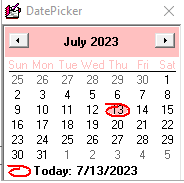
- Choose the date the helper is being scheduled.
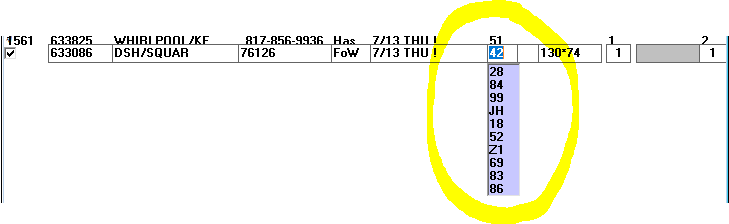
- Choose your helper from the helper selector (circled in yellow in the original).
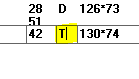
NOTE: If the technician you need to add is NOT listed in the dropdown, you will need to manually enter it. - Change to D to make Definite. Definite ensures it is not moved to another technician.
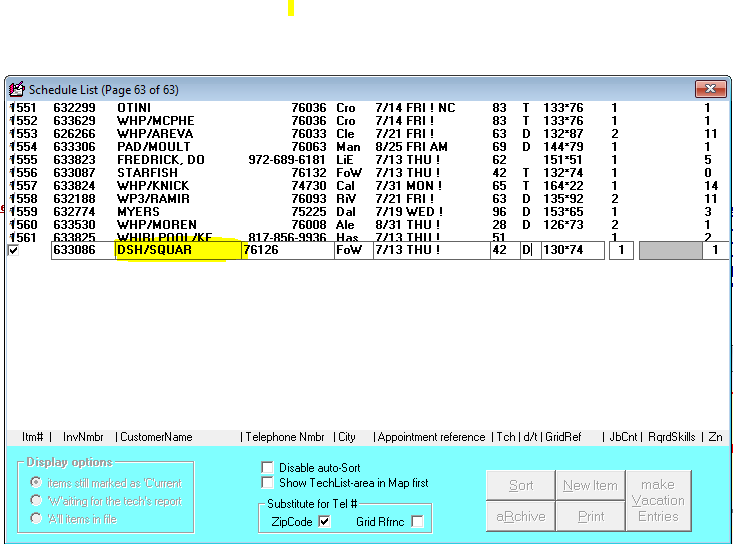
- Click the highlighted area in yellow.
- This should populate at the bottom.
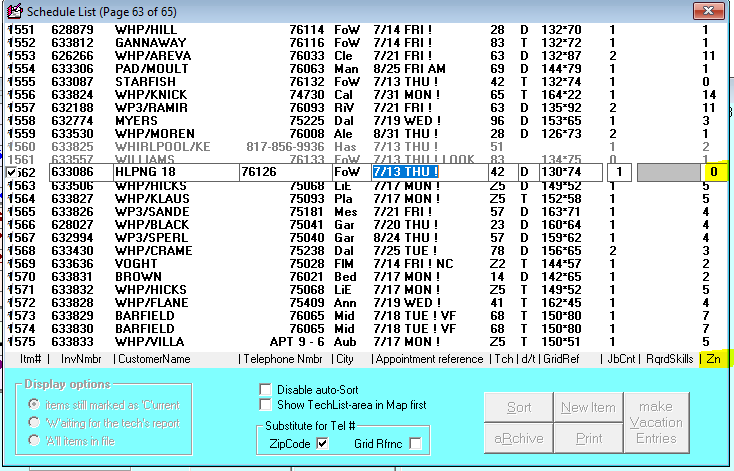
- TYPE ALL CAPS HLPNG, THEN ADD THE TECHNICIAN'S NUMBER THAT NEEDS THE HELP.
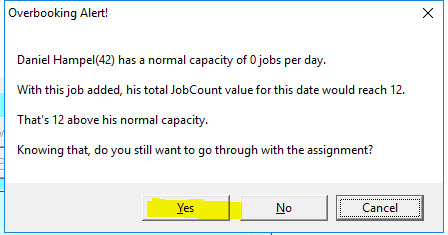
*** IT IS VERY IMPORTANT *** THAT THE DROP-DOWN IS NOT CLICKED AND INSTEAD MANUALLY TYPED. OTHERWISE IT CAN CAUSE AN ISSUE WITH THE PICK LIST WHEN PRINTED. - Hit Enter. You may get an Overbooking Alert - if so, click Yes.
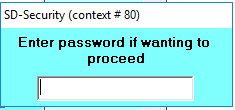
- You may get a popup asking for a password - enter your 4-digit passcode, then hit Enter.
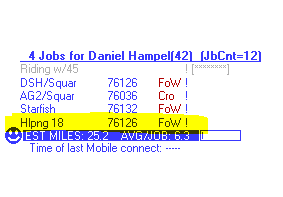
- The mapping view should now show the helper added to the primary technician (e.g., "Daniel 42 was added as the helper for technician 18").
Zone Rules for Helpers
- If you are adding a Tech Supervisor as the helper, mark the zone as 0 (zero).
- If you are adding a tech from another zone, update the scheduler zone to that tech's zone (e.g., Zone 0 for supervisors, tech's actual zone otherwise).
- All Tech Supervisors need to be marked as Zone 0 because they are not assigned to any specific zone.
- The zone should accurately represent the technician's assigned zone.
Reference images (from CIT cheat sheet):