Step-by-Step Walkthrough
(Original had screenshots; re-attach during KB review.)
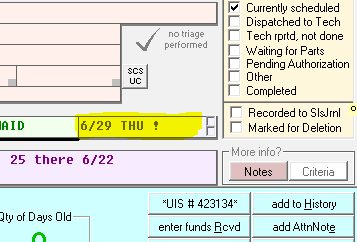
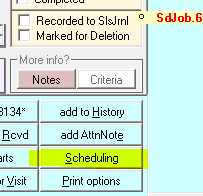
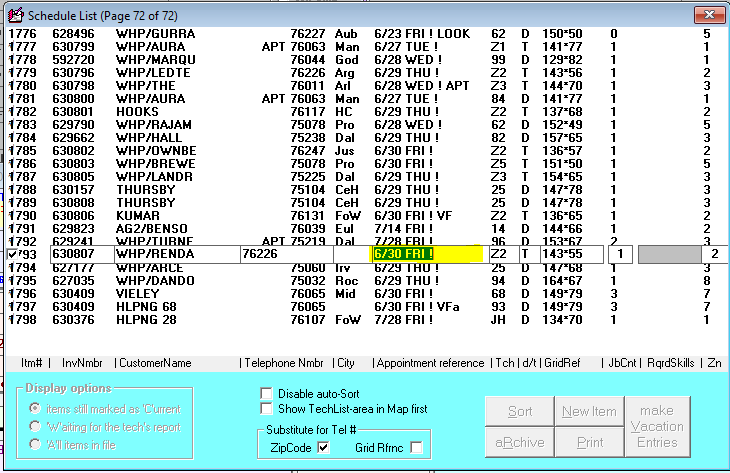
- Click the yellow highlighted area on the job record (the scheduling shortcut), or click the Scheduling button.
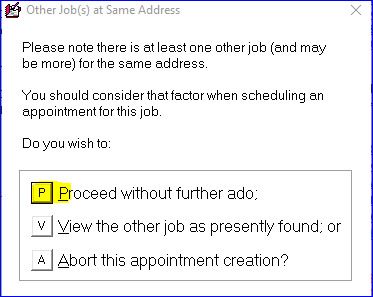
- If a dialog pops up, click P.
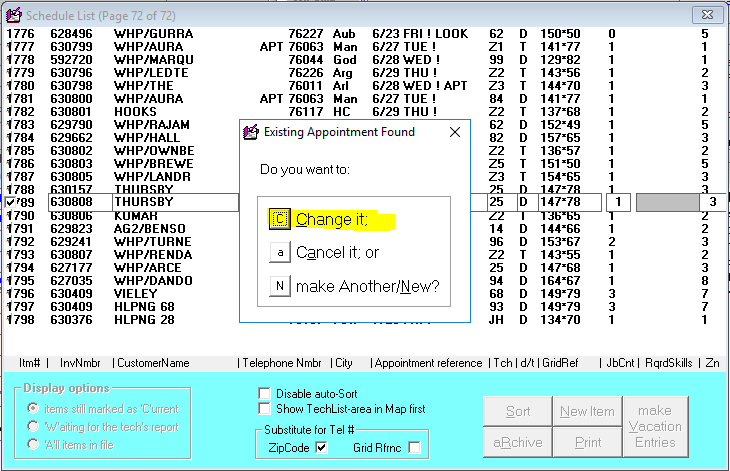
- Click Change It.
- Double-click the area highlighted in yellow - this is the appointment reference area.
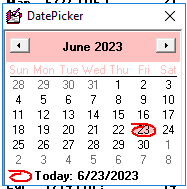
- The calendar should pull up.
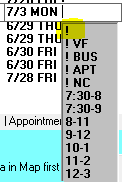
- Choose your date. Make sure to choose the exclamation (!) symbol - this indicates the all-day window. If there are any business hours or time requests, notate them here.
Zone
The zone should accurately represent the technician's assigned zone. All Tech Supervisors need to be marked as Zone 0 (zero) because Tech Supervisors are not assigned to any specific zone.
Reference images (from CIT cheat sheet):